Javascript has become the programming language to learn for both front and backend engineering, and even game development. With many powerful frameworks leveraging the growing language, I had some experience with frontend development using Reactjs and the good old jQuery, and became interested in diving into the backend world of JS. The most common environment being nodejs, I set out to find a simple backend framework and from my research, expressjs was right for my needs.
I wanted to build a simple API to perform CRUD operations. Expressjs is lightweight and stripped down to the core, so I only had to install the packages I needed.
Picking up expressjs was quite straightforward and so I decided to build an application to process HTTP requests. The idea and execution was simple enough as a weekend project, which could be improved over time. With that, hookz.dev was born.
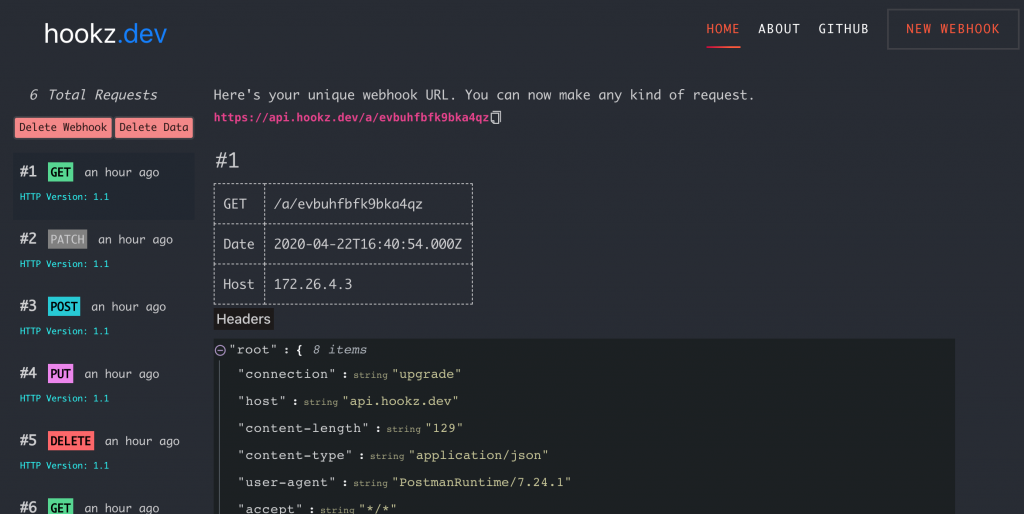
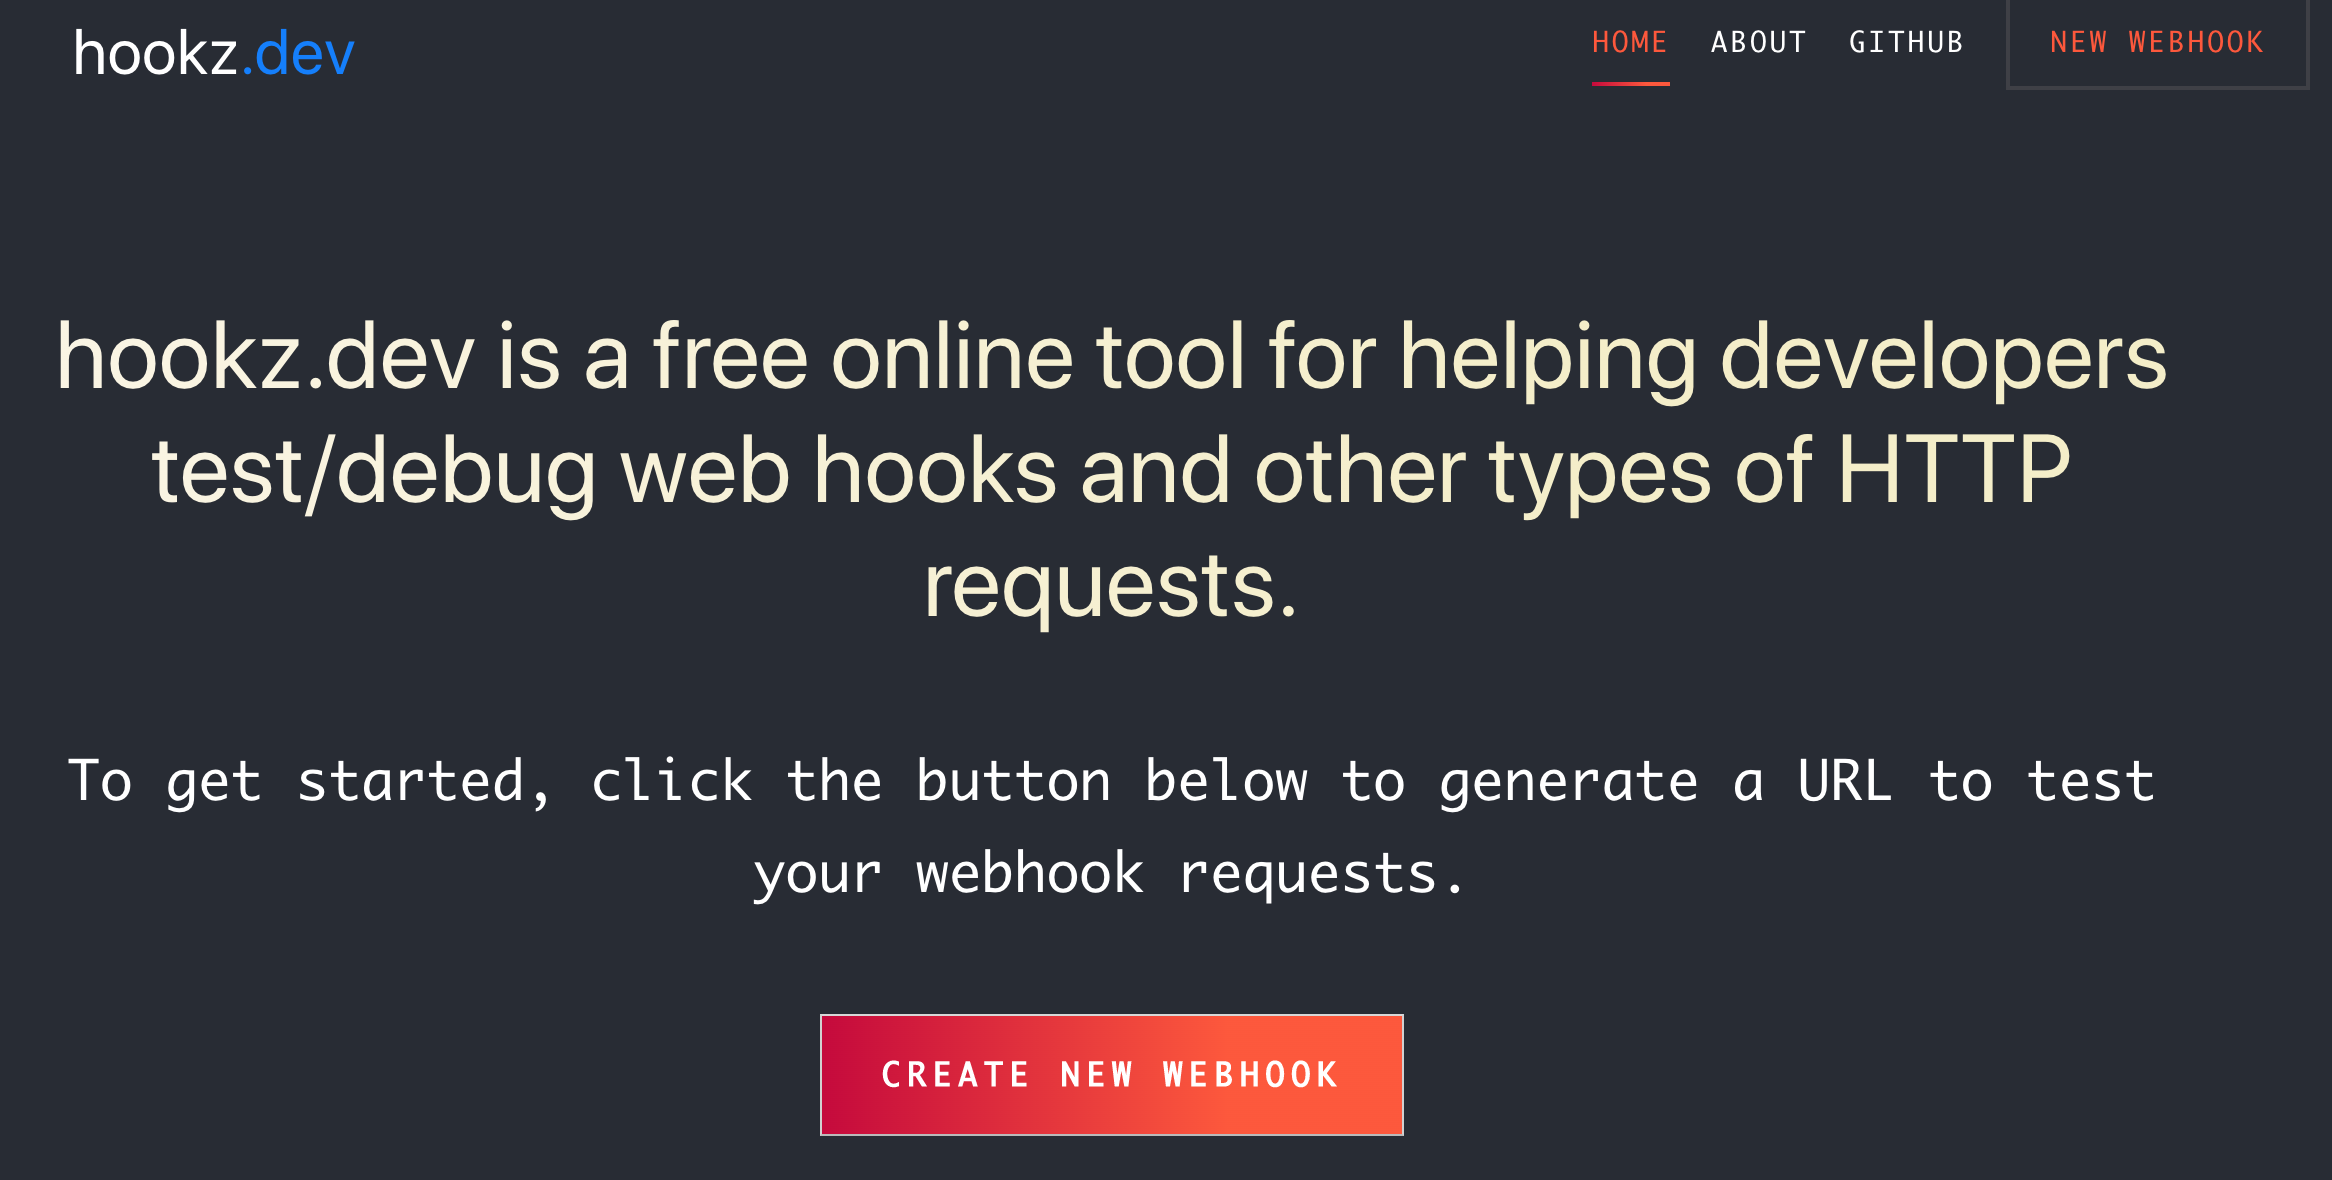
hookz.dev is a free and open source web tool that helps developers quickly test webhooks or catch and inspect all kinds of http requests.
REST API Design
The API design follows the REST principles and allows for creating hookz and posting request data.
The main entity is the webhook, which can be created or deleted via an API call to the routes as defined below;
// GET or POST hooks
app.route("/hookz")
    .get(webhook.getAll)
    .post(webhook.create);

// DELETE hook by hook
app.route("/hookz/:webhook").delete(webhook.delete);
Hookz data is received and processed by webhookDataRoutes.js
// api/app/routes/webhookDataRoutes.js

app.get(`/hookz/data`, async (req, res) => {
        return res.status(200).send({ 1: "test!" });
    });

    app.route("/hookz/:webhook/data").get(webhookData.getDataByWebhook);

    const createWebhookDataRequestLimit = rateLimit({
        windowMs: 30 * 60 * 1000,
        max: 500,
        message: "Too many requests created from this IP. You can make 500 post requests within 30 minutes. Please try again in 30 minutes"
    });

    app.route("/a/:webhook").all(createWebhookDataRequestLimit, webhookData.create);

    app.route("/d/:webhook/data").delete(webhookData.deleteDataByWebhook);
The above routes handle processing of HTTP requests to the webhook, deleting webhook data and returning data to the user. Future improvements here will be to add a level of security so webhook data is limited to those who create it. This will mean, creating either a public or private webhook with some kind of identification.
Database Design
The database system I used was plain old mysql, leveraging the mysql package for expressjs. Below is an overview of the database design. There are two tables; one for hookz and one for hookz_data.
hookz table structure
| Column | Datatype | Description |
|---|---|---|
| id | INT | primary key (auto increment) |
| name | NVARCHAR | UUID of the hook |
| created_at | Timestamp | |
| updated_at | Timestamp |
hookz_data table structure
| Column | Datatype | Description |
|---|---|---|
| id | INT | primary key (auto increment) |
| webhook | NVARCHAR | name of the webhook – primary key (hookz.name) |
| data | TEXT | payload of webhook request |
| created_at | Timestamp | |
| updated_at | Timestamp |
Database Migration Script
The init migration script to create the tables can be found in /docker_compose/mysql/init.sql.
DROP TABLE IF EXISTS `hookz`;
CREATE TABLE `hookz` (
  `id` int(200) NOT NULL AUTO_INCREMENT,
  `name` varchar(255) NOT NULL,
  `created_at` datetime NOT NULL,
  PRIMARY KEY (`id`),
  KEY `name` (`name`)
) ENGINE=InnoDB DEFAULT CHARSET=latin1;

DROP TABLE IF EXISTS `hookz_data`;
CREATE TABLE `hookz_data` (
  `id` int(200) NOT NULL AUTO_INCREMENT,
  `webhook` varchar(255) NOT NULL,
  `data` longtext NOT NULL,
  `created_at` datetime NOT NULL,
  `updated_at` timestamp NOT NULL DEFAULT CURRENT_TIMESTAMP ON UPDATE CURRENT_TIMESTAMP,
  PRIMARY KEY (`id`)
) ENGINE=InnoDB DEFAULT CHARSET=latin1;
Frontend
The frontend is built with ReactJS and uses the API service to request and load data. The frontend code can be found in the client folder.
Development Tools
The application is containerised using docker and can be setup in no time. To execute the application using docker, follow the steps below;
- Make sure you have docker installed
- Clone hookz.dev repository
- CD into the project root directory
- Run
docker-compose buildto build the container. This might take a while as it downloads and builds the images.- You could take a look at the
docker-composefile and make adjustments, such as mysql passwords, port mapping, etc.
- You could take a look at the
- Once your build is complete. Run
docker-compose upto run the application- You could also run only the
docker-compose upcommand for first time setup which will build and bring up the container.
- You could also run only the
- Run
docker psto get a list of available containers. You should see something like this (removed container ids to avoid confusion):
IMAGE                COMMAND                  CREATED             STATUS                        PORTS                               NAMES

hookzdev_client      "npm start"              3 weeks ago         Up 1 second                   0.0.0.0:3000->3000/tcp              hookz.dev.client

hookzdev_api         "npm start"              3 weeks ago         Up About a minute             0.0.0.0:5000->5000/tcp              hookz.dev.api

 mysql/mysql-server   "/entrypoint.sh mysq…"   3 weeks ago         Up About a minute (healthy)   33060/tcp, 0.0.0.0:4306->3306/tcp   hookz.dev.mysql
API (backend) can be accessed on port 5000 (`http://localhost:5000`) and client (frontend) on port 3000 or whichever port you defined or mapped to in the docker-compose file.
The project is open sourced with The MIT License, which means you are free to use without restriction :).
Future Developments
This is ideally the first version of hookz.dev, and I plan on adding more features with time. I currently get around to it over the weekends and during late nights, so if you have any suggestions or find bugs and issues you’d like to report or help with, feel free to open a ticket (issue) on GitHub or send me an email: hello@mandeeya.io
Code contributions are also very highly welcomed! You can email to let me know if you are interested in learning more about the roadmap for the project. I’d be happy to share some docs.
Here’s the link to the project on GitHub -> https://github.com/rasheeda/hookz.dev

